Discover the Delight of Homegrown Carrots
Carrots, with their crisp and sweet nature, have long been a favorite among all food lovers. However, for many gardeners, growing carrots can be a bit of a challenge. The key to success lies in choosing the right type of soil—soft and airy is the secret. Allow us to share valuable insights on cultivating these delightful root vegetables in your own garden!
Carrots Unveiled

Spring heralds the arrival of carrots, a beloved cool-season crop. Apart from adding a splash of color to your meals, they offer a rich source of vitamin A. Their versatility shines, whether consumed raw or cooked, making them an essential ingredient in any culinary repertoire.
Homegrown carrots have an added advantage—their natural sweetness lasts longer. Unlike store-bought counterparts, which tend to lose their sweetness as they age, homegrown carrots retain their delectable flavor, making every bite a pure joy.
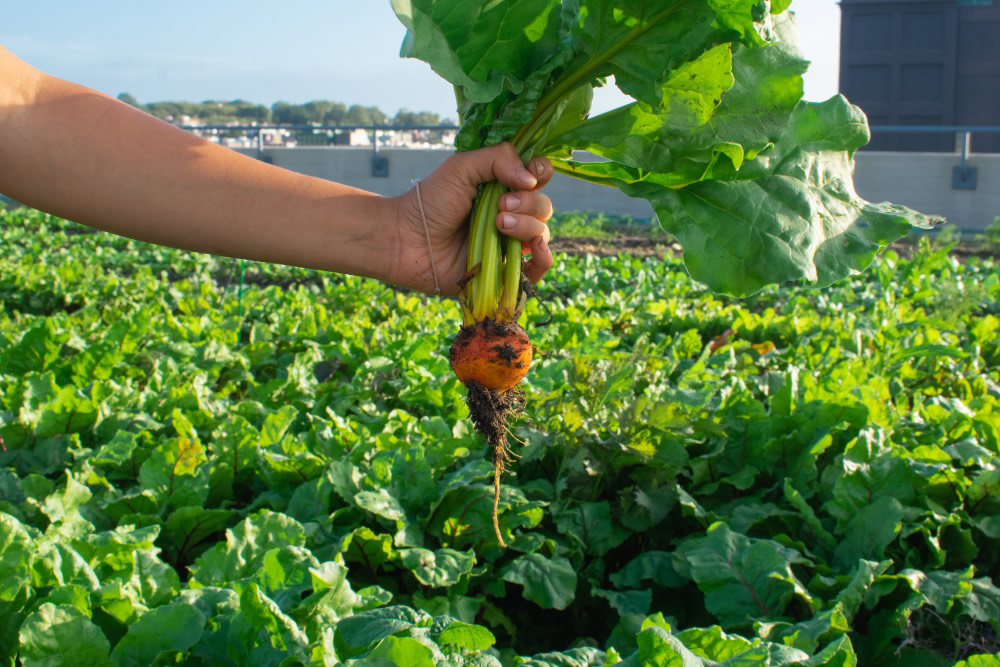
What’s more, the array of carrot varieties available to the home gardener is truly remarkable. From the classic Belgium Whites to the enchanting Purple Dragon and the charmingly round Parisian heirlooms, you have a kaleidoscope of choices to explore. Bid farewell to the uniform “grocery store” shapes; instead, embrace the unique forms that your carrots may take. Their taste will undoubtedly be far superior!
Some may deem carrot cultivation as tricky, especially in dense and compacted soil. Yet, with a touch of dedication, growing carrots can become a rewarding endeavor. Our comprehensive planting guide below will equip you with the knowledge and techniques to ensure a thriving carrot harvest.
So, roll up your sleeves and embark on the journey of cultivating your own sweet and nutritious carrots. The joy of homegrown goodness awaits you in your very own garden!
Planting Perfect Carrots – A Comprehensive Guide
To enjoy a bountiful harvest of sweet and crunchy carrots, mastering the art of planting is essential. These vibrant root vegetables thrive in sunny locations, soaking in 6 to 10 hours of sunlight daily. The ideal soil should be free-draining, making sandier soils an excellent choice for cultivation. However, avoid excessively rich soil, as it can hinder carrot growth.
For gardens with compacted clay soil, consider opting for containers or raised beds, at least 8 to 12 inches high, to provide the perfect growing environment. Here are some essential planting tips for cultivating these delectable delights:
Choosing the Right Time for Planting
- Carrot seeds should be sown approximately 2 to 3 weeks before the last spring frost date, ensuring that the soil has dried out and slightly warmed up after winter.
- The optimal soil temperature for seed germination is at least 40°F, with the best germination occurring between 55°F to 65°F (not exceeding 75°F). High summer temperatures can hinder growth and result in lower quality and potentially bitter-tasting carrots.
- For a fall harvest, sow seeds in mid- to late summer, around 10 weeks before the first fall frost.
Planting Techniques
- Begin by tilling the site to a depth of 10 inches, ensuring the soil is free of rocks, stones, or clumps. Incorporate compost and 6 inches of sandy topsoil if your soil lacks looseness and aeration. Double-digging is recommended for optimal results.
- It is best to sow carrot seeds directly in the garden or designated growing area, as they dislike root disturbance. Sow the seeds 1/4 inch deep and 2 to 3 inches apart in rows spaced 1 foot apart.
- To ensure even distribution and prevent seeds from growing too closely together, mix the tiny carrot seeds with fine sand before sowing. Cover the seeds gently after sowing.
- Maintain consistent moisture in the soil through frequent, shallow waterings. Prevent crust formation by covering the soil with a thin layer of fine sand, vermiculite, or compost.
- Be patient, as carrots can be slow to germinate, taking 14-21 days to emerge. Give them time before worrying about their progress.
- Companion planting with radishes can help minimize crust formation and track the location of carrot seeds. Sow quick-germinating radish seeds between carrot rows, allowing the radishes to be harvested by the time carrots start to grow.
- For a continuous harvest, plant carrots every 4 weeks until mid-summer.
Cultivating Carrots in Containers
Growing carrots in pots provides the advantage of customizing the growing medium and protecting them from pests like carrot fly. Containers should be at least 10 to 12 inches deep and as wide as possible. Here are some tips for successful container cultivation:
- Use a low-fertility mix, such as one part sand and one part potting mix.
- Sow seeds thinly on top of the filled pot and cover them with a touch more of the mix.
- Place the pots in a sunny position and ensure they receive regular watering, as container-grown carrots rely solely on you for their needs.
- Once the seedlings emerge, thin them to a couple of inches apart, and harvest the carrots once they reach the desired finger size.
Mastering these planting techniques will lead you to a plentiful harvest of homegrown carrots—crisp, sweet, and utterly satisfying!
Cultivating Carrots with Care
To ensure a successful carrot harvest, proper growing techniques are crucial. Follow these guidelines for a rewarding experience in cultivating these vibrant root vegetables:
- Mulching Magic: Gently apply mulch to the carrot bed to retain moisture, hasten germination, and shield the delicate roots from direct sunlight.
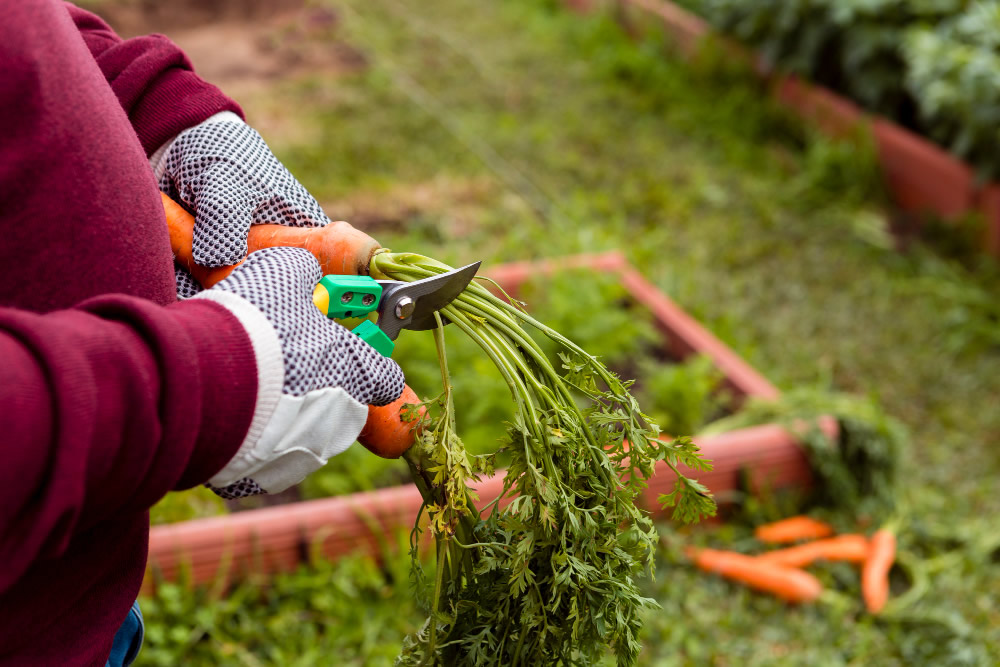
- Prudent Thinning: Once the seedlings reach around an inch in height and develop 3 to 4 true leaves, thin them out, leaving 3 to 4 inches of space between each plant. Use scissors to snip off the excess seedlings instead of pulling them out, as this prevents damage to the remaining plants’ fragile roots.
- Water Wisely: Carrots require approximately 1 inch of water per week, either through natural rainfall or manual watering. Avoid overwatering, as excessive moisture can be detrimental to carrot growth.
- Weed Management: Be diligent in weeding the carrot bed, as carrots do not thrive when competing with weeds. However, take care not to disturb the young carrots’ delicate roots during the weeding process.
- Fertilization: After about 5 to 6 weeks of sowing, consider fertilizing the carrots. Opt for a low-nitrogen fertilizer to promote root growth rather than foliage development.
Explore Recommended Varieties

Carrots offer a delightful array of colors, sizes, and shapes to suit every gardener’s preference. Here are some recommended varieties to consider for your carrot patch:
- Introducing the Bolero potato variety, boasting a sleek, slightly tapered shape and measuring a satisfying 7 to 8 inches in length. What sets this potato apart is its remarkable resilience against pesky leaf pests and blights, making it a preferred choice for growers seeking a robust and reliable crop. With its exceptional combination of size and disease resistance, the Bolero stands tall as a sought-after gem in the world of potatoes.
- Danvers: A classic heirloom variety, 6 to 8 inches long, tapering at the end, and boasting a rich, dark orange color. Particularly well-suited for heavy soil.
- Little Finger: An heirloom gem, this small Nantes-type carrot measures only 4 inches in length and 1 inch in thickness, making it perfect for container gardening.
- Nantes: Cylindrical in shape (non-tapered), 6 to 7 inches in length, exceptionally sweet, and offering a crisp texture.
- Thumberline: An heirloom treasure, characterized by its round shape, making it ideal for clumpy or clay soils and container gardening.
For those seeking a splash of color in their harvest, consider trying the heirloom ‘Red Cored Chantenay’ or the vibrant ‘Solar Yellow’.
With these careful growing practices and a selection of delightful carrot varieties, your garden will soon be filled with the sweet rewards of your labor.
Harvesting Carrots – Timing and Techniques
Knowing the right time to harvest your carrots ensures the best flavor and texture. Follow these guidelines for a successful carrot harvest:
- Readiness Check: Gently explore the base of the foliage and assess the width of the roots near the neck. The first carrots are usually ready for harvest approximately two months after sowing.
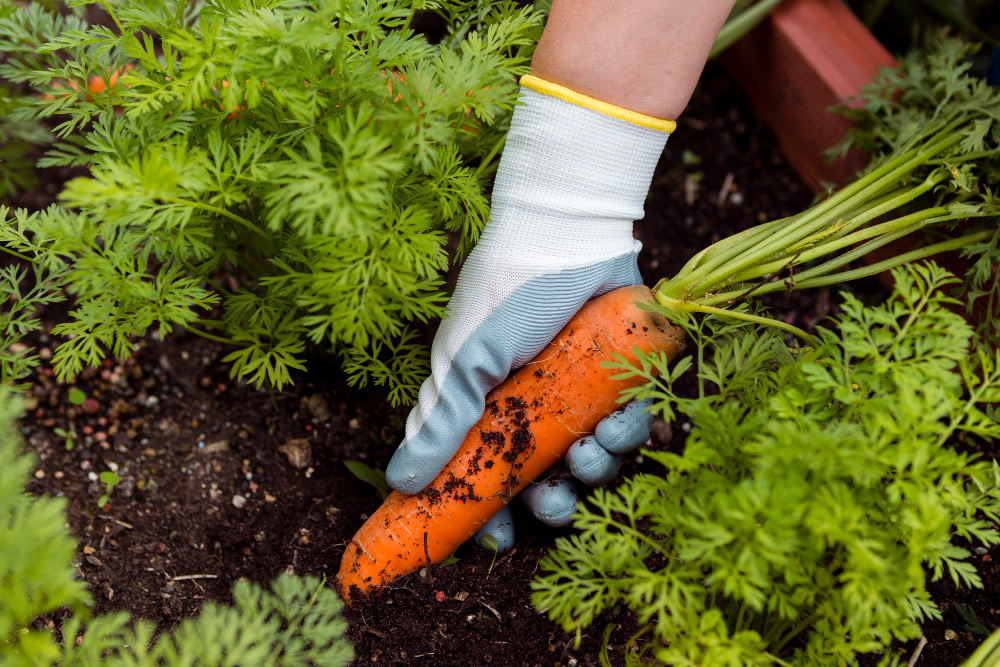
- Size Matters: Generally, smaller carrots offer superior taste. Aim for carrots that are about as wide as your thumb or at least ½ inch in diameter.
- Harvesting Young Carrots: Younger and shallower roots can be easily pulled out by firmly gripping the base of the foliage and giving a gentle twist as you pull upwards. A slight downward push on the root before twisting can help ease it out.
- Harvesting Larger Carrots: For maincrop carrots intended for winter consumption, larger and longer roots may require the assistance of a fork to lift them gently from the soil.
- Staggered Harvest: To enjoy carrots over an extended period, harvest them in stages as they reach full size. This allows for a prolonged and continuous harvest.
- Seasonal Considerations: If growing carrots in the spring and early summer, aim to harvest before daily temperatures become too hot, as excessive heat can lead to fibrous roots. On the other hand, fall-harvested carrots taste better after experiencing one or more frosts, as it encourages the storage of sugars in the root. Following the first hard frost in the fall, cover carrot tops with an 18-inch layer of shredded leaves to preserve them for later harvesting.
Note: Carrots are biennial, meaning they complete their life cycle in two years. If you leave carrots in the ground without harvesting, they will produce flowers and seeds in the next year.
Storing Freshly Harvested Carrots
For preserving the freshness of freshly-harvested carrots, trim off all but 1/2 inch of the tops, wash away dirt under cold running water, and allow the carrots to air-dry. Store them in airtight plastic bags and refrigerate to maintain their crispness. Simply placing fresh carrots in the refrigerator without proper storage can cause them to go limp within hours.
Alternatively, if the ground won’t freeze and pests are not an issue, mature carrots can be left in the soil for temporary storage. Another option is storing carrots in containers filled with moist sand or dry sawdust, placed in a cool, dry area.
By following these effective harvesting and storing practices, you can relish the delicious flavor of homegrown carrots for an extended period. Enjoy the bountiful rewards of your carrot harvest!
Fascinating Carrot Trivia

- Carrots display a stunning spectrum of colors, ranging from purple to white, with certain varieties boasting disease and pest resistance.
- Carrots with a longer shelf life often have high sugar content, making them a delightful source of vitamins and carotene.
- The Irish affectionately referred to carrots as “underground honey” due to their naturally sweet flavor.
- Surprisingly, carrots were the pioneering vegetable to be commercially canned. Their popularity paved the way for the canning industry.
Carrot Pests and Diseases – Identification and Management
| Pest/Disease | Type | Symptoms | Control/Prevention |
|---|---|---|---|
| Aster Yellow Disease | Bacterial | Shortened and discolored carrot tops, thin and hairy roots, bitter taste | Control pests like leafhoppers which spread the disease; weed management; implement a pest control plan; consider crop rotation; be cautious of overwintering potential |
| Black (Itersonilia) Canker | Fungal | Formation of shallow, reddish brown/purple/black cankers on carrot crown and/or shoulder, small orange-brown spots on leaves with green halos, rotting of flowers | Opt for resistant carrot varieties; cover carrot shoulders with soil; practice crop rotation |
| Carrot Rust Flies | Insect | Wilting and stunted plants, rust-colored excrement tunnels in carrot-family crop roots, root rot | Monitor adults with yellow sticky traps; use row covers; encourage beneficial insects through native plants; dispose of crop residue properly; practice crop rotation |
| Flea Beetles | Insect | Leaves with numerous tiny holes | Implement row covers; apply heavy mulch; attract beneficial insects with native plants |
| Leafhoppers | Insect | White shed skins from nymph molting on leaf undersides, stippling (tiny spots) on leaves, “hopperburn” causing yellowing/browning, curling, or stunting of leaves, reduced yield | Remove nymphs from leaf undersides using strong water spray; employ row covers; monitor adults using yellow sticky traps; weed management; proper disposal of crop residue |
| Root-Knot Nematodes | Insect | Roots appear “knotty” or galled, stunted and wilted plants, roots with forked or pimpled appearance | Dispose of crop residue, including roots; choose resistant carrot varieties; solarize soil; use aged manure/compost; disinfect tools; practice autumn tilling; practice crop rotation |
| Wireworms | Insect | Hollowed seeds, severed seedlings, wilting or stunting, root damage, bored tubers/bulbs | Use traps to collect and eliminate wireworms; sow seeds in warm soil for quick germination; ensure good drainage; remove plant debris; practice crop rotation |
In this table, you can find valuable information about common pests and diseases that affect carrots. Identification and proper management are crucial for maintaining healthy carrot crops and ensuring a fruitful harvest. Employing preventive measures and timely intervention will help safeguard your carrot plants against these potential threats.